
How to Automatically Display Featured Images Above Your Squarespace Blog Titles
Tired of your Squarespace blog posts looking a little plain? You spend time creating the perfect featured image, but many Squarespace themes only show it on your main blog page, not on the post itself. This leaves your articles looking text-heavy and less engaging right from the start.
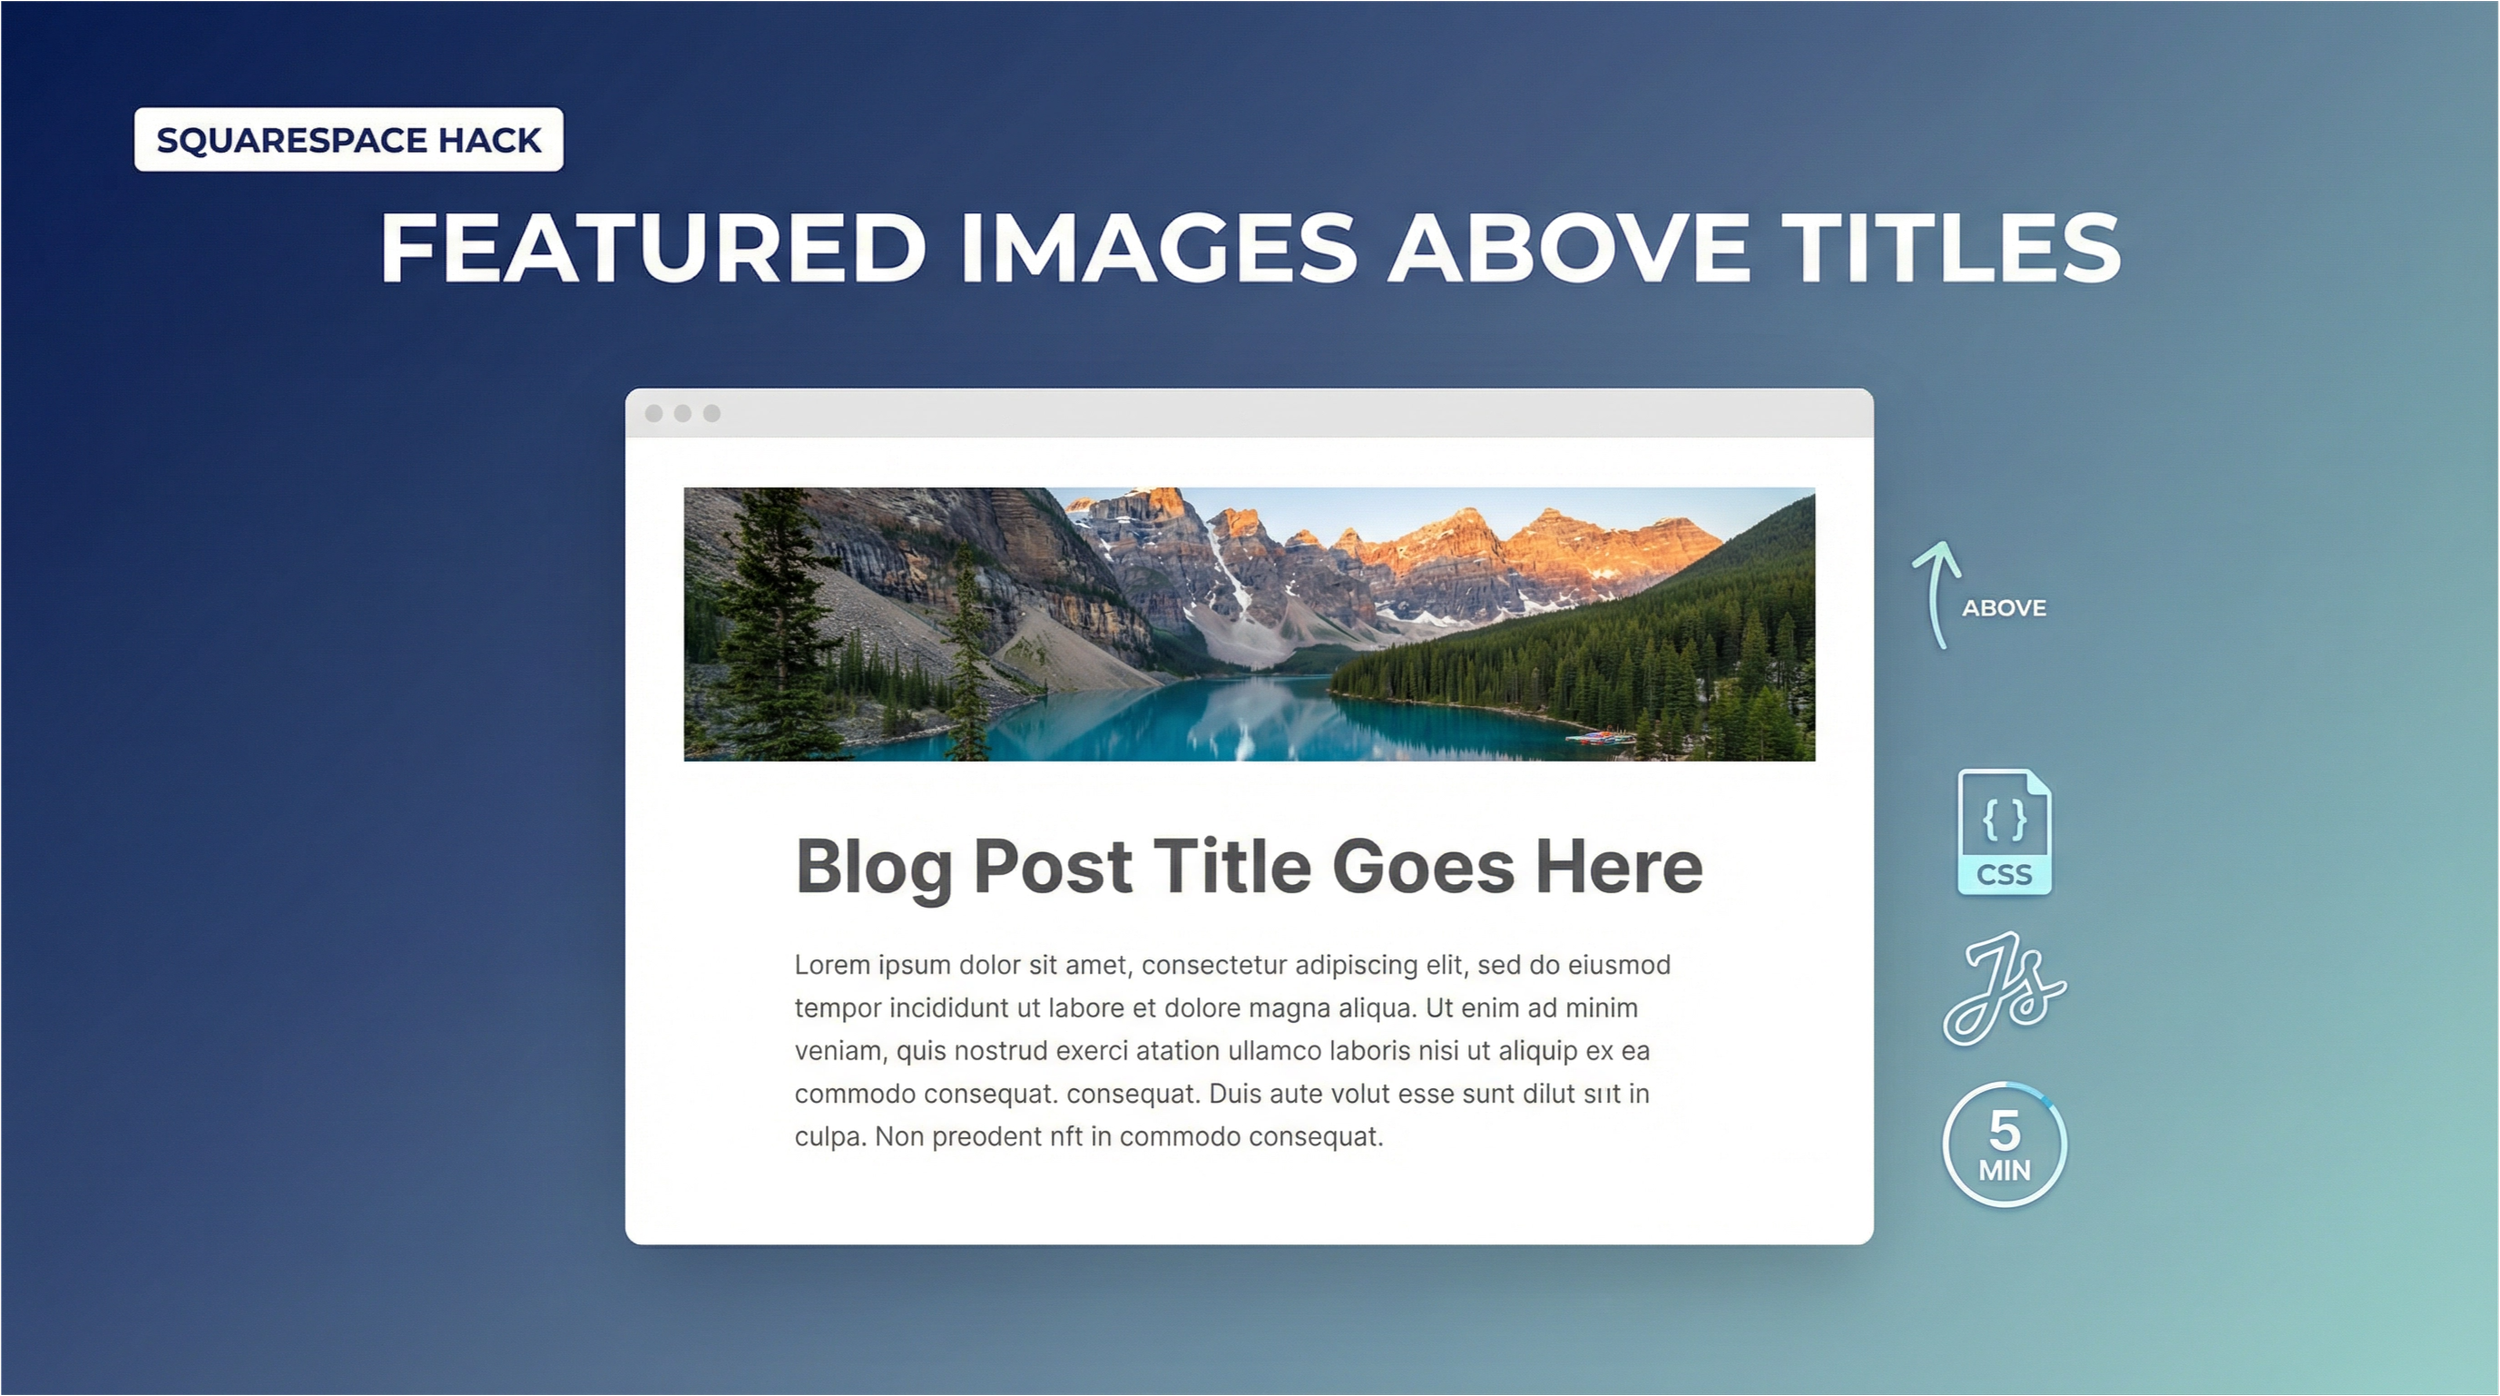
What if you could automatically display that beautiful featured image right above the title of every post? It would add a powerful visual hook, improve reader engagement, and make your blog look more professional—all without manually adding the image to each post.
Good news: you can. With a simple copy-and-paste code solution, you can set this up in above five minutes. This guide will walk you through a clever “hack” that uses a few lines of CSS and JavaScript to solve one of Squarespace’s most common frustrations.
The Problem: Missing Featured Images
When you assign a featured image to a blog post in Squarespace, it stores that information for things like social media previews and your main blog feed. However, it often doesn't render that image in the actual post's header. This forces you to either go without a header image or manually insert one, which is inefficient and can lead to inconsistent styling.
The Solution: A Simple Code Injection
This method automatically pulls the hidden featured image URL and places it exactly where you want it—right above your blog title. It’s a “set it and forget it” solution.
How It Works
The magic happens in two parts:
JavaScript: A small script runs on your blog post pages. It finds the featured image URL, which Squarespace stores in a hidden meta tag (
og:image) in the page's header. It then creates an image element and cleanly inserts it right before your blog title.CSS: A snippet of custom CSS styles this new image, making it full-width, responsive, and adding appropriate spacing. It also includes a subtle fade-in animation for a polished, professional touch.
The Code: Your Copy-Paste Solution
Here are the two pieces of code you’ll need. Don’t worry if you’re not a developer—you just need to copy and paste them into the right places.
The CSS
This code styles the container and the image itself.
/* Featured Image Above Blog Title - Full Width */

.blog-featured-image-container {
  width: 100%;
  margin-top: 0;
  margin-top: 0;
}

.blog-featured-image {
  width: 100%;
  height: auto;
  display: block;
  object-fit: cover;
  border-radius: 8px;
}

/* Optional: Fade-in animation */
.blog-featured-image {
  animation: fadeInImage 0.6s ease-in-out;
}

@keyframes fadeInImage {
  from {
    opacity: 0;
    transform: translateY(20px);
  }
  to {
    opacity: 1;
    transform: translateY(0);
  }
}

/* Mobile spacing adjustment */
@media screen and (max-width: 767px) {
  .blog-featured-image-container {
    margin-bottom: 20px;
    margin-top: 0;
  }
}
The JavaScript
This script does the heavy lifting of finding and placing the image.
<script>
// Display Featured Image Above Blog Title
(function() {
  const blogTitle = document.querySelector(".blog-item-title");
  if (!blogTitle) return;

  const ogImageMeta = document.querySelector("meta[property=\"og:image\"]");
  if (!ogImageMeta) return;

  let featuredImageUrl = ogImageMeta.getAttribute("content");
  // Upgrade image quality for crisp display
  featuredImageUrl = featuredImageUrl.replace("format=1500w", "format=2500w");

  const imageContainer = document.createElement("div");
  imageContainer.className = "blog-featured-image-container";

  const featuredImage = document.createElement("img");
  featuredImage.src = featuredImageUrl;
  featuredImage.alt = document.querySelector(".entry-title")?.textContent || "Featured Image";
  featuredImage.className = "blog-featured-image";
  featuredImage.loading = "eager"; // Load image immediately

  imageContainer.appendChild(featuredImage);
  blogTitle.parentNode.insertBefore(imageContainer, blogTitle);
})();
</script>
Installation Guide: 5 Minutes to a Better Blog
Follow these simple steps to implement the code on your Squarespace site.
Step 1: Add the Custom CSS
- From your Squarespace dashboard, navigate to Design → Custom CSS.
- Copy the entire CSS code block from above.
- Paste it into the Custom CSS editor.
- Click Save in the top-left corner.
Step 2: Add the JavaScript Code
- Navigate to Settings → Advanced → Code Injection.
- Copy the entire JavaScript code block (including the
<script>tags). - Paste it into the Footer section.
- Click Save.
Step 3: Test Your Work
That’s it! Now, go to any of your blog posts that has a featured image assigned. You should see it displayed beautifully above the title. Check it on both desktop and mobile to see how it adjusts responsively.
Easy Customization Options
Want to tweak the look? Here are a few simple edits you can make in your Custom CSS panel.
- Adjust Spacing: Change the
margin-topandmargin-bottomvalues in.blog-featured-image-containerto increase or decrease the space around the image. - Change the Border: Modify the
border-radiusin.blog-featured-image. Use0pxfor sharp corners or16pxfor a more rounded look. - Set a Maximum Height: If you have very tall images, you can prevent them from taking up too much space by adding
max-height: 600px;to the.blog-featured-imagestyle.
A Simple Fix for a More Professional Blog
With just a few minutes of work, you’ve implemented a powerful, automated solution that enhances the visual appeal of every post on your blog. This small change creates a more engaging reader experience and ensures your hard work creating great featured images pays off.